- Joined
- Oct 21, 2023
- Messages
- 98
- Reaction score
- 55
- Age
- 75
P3P Build
To start with I did not crash this P3P, (Phantom 3 Pro). I purchased several P3P’s in an attempt to get a good working drone. Well, I got several good working P3P’s and one all messed up P3P. The top and bottom shells were cracked, thread holes were stripped, drone was painted, camera motor and bearings were locked up.
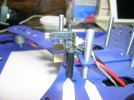
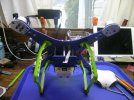
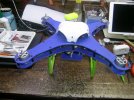
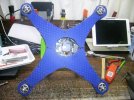
OK so here I have P3P that does power up and the motors do run, but I would not want to fly it. So, I thought why not put all the good parts in a new shell or frame. The following build is what I came up with, the Lunch Tray Drone.
As I go through this build you will notice that my sentence structure may not be grammar perfect. I am from a Pennsylvania Dutch background so that is my excuse.
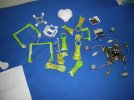
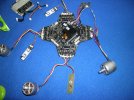
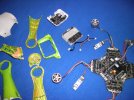
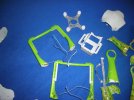
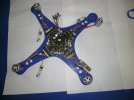
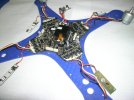
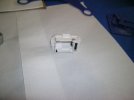
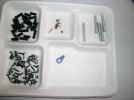
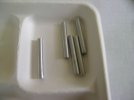
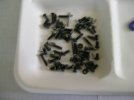
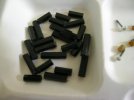
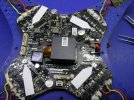
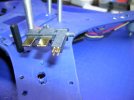
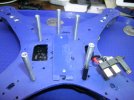
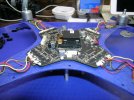
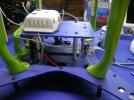
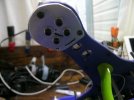
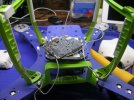
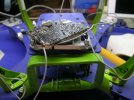
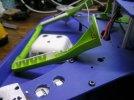
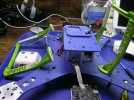
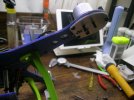
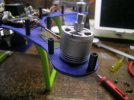
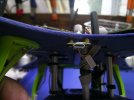
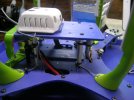
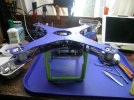
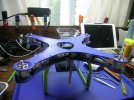
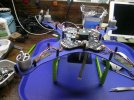
I started by taking this drone completely apart, and laid it out to see that I had to work with. With the complete shell removed I had everything I needed to build a “flat frame” drone. In the pictures you will see pieces of the original shell and all the good stuff. I cut the shell up before I thought about taking pictures and showing others what I was doing. The shell was complete but not usable so I throwed it out.
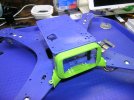
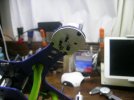
One of the camera gimbal motors was locked or frozen up so I decided to leave the camera off for now. But I made provisions for a future camera under the battery.
Now I need a frame material, carbon fiber would cost about $50 to $75 to purchase and have shipped to me. Fiberglass is too ridged and does not bend well without cracking. I came up with a sheet of hard plastic but flexible, about .125 inch thick.
Well, I found it on eBay and ordered it. Price was very good so I ordered 4 pieces.
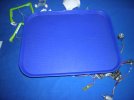
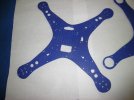
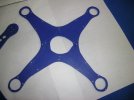
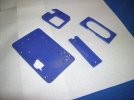
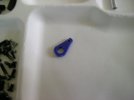
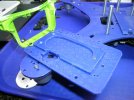
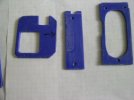
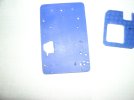
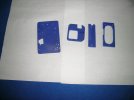
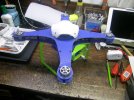
You have to looks hard I should not have taken this picture with a blue back ground.
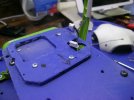
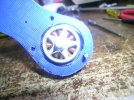
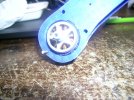
Now don’t laugh this piece of plastic will work great. Yes, it is a cafetería lunch tray. The material is hard but flexible, when you drill and tap threads in this material it works great.
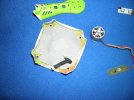
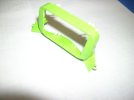
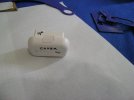
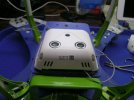
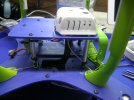
The white “turtle shell” is the remaining part of the top shell. I will be using this to hold the GPS unit.
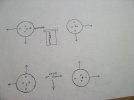
When I disassembled the shells, I traced an outline on graft paper so I could make the new frame the exact size as the P3P.
More later.


