

Hey all, I had a friend ask if I could take a look at his phantom 3 advanced focus issues and it appears the left side of the images look soft, more so at the bottom left. Sure, after a bit of post processing I could reduce the issue, especially after taking the images in raw but for me this just wasn't good enough. As his aircraft is out of warranty I offered to see if we could fix the issue.
Please note, if you still have a valid warranty then send it back, following this will invalidate your warranty. However, If you follow it correctly then there is no way to tell if it has been performed other than getting nice sharp images.
Tools required:
Torx 6 driver
Phillips P000 screwdriver
Small flat head screwdriver
First, determine where your focus issue is, in this case it was effecting the left side but the bottom left being worse. I have seen some people having an issue with the right side. You can fix it all the same. If its heavily out of focus this might not work.
Put the aircraft facing you and tilt it back to rest on the rear rotor arms with the gimbal facing forward.
Rotate the camera so the back is facing you and carefully remove the four torx screws. Try not to gnarl them up with the wrong sized torx bit. They should be a little tight to undo the first time as there is a little thread locker on them.
Once you have them out the back cover will pull off easily, just lift from the side. This exposes the back of the sensor board.
Here there are four screws as shown below.
To do this, slightly undo the four screws holding the board down and using the flat head in the gap in between the board and the casing turn gently to adjust the position of the board slightly.
As our focus issue is on the left side of the sensor we need to move the sensor a tiny bit in relation to the direction of sharp focus. In the images, the sharper areas are more center and right side of the image. Suggesting the sensor needs to be moved slightly to the right and up a fraction to bring the center of the circle of focus into the middle of the sensor.
Gently tighten the screws back down. DO NOT OVER TIGHTEN. Just pinch them back up to stop the board moving again.
Now take some pictures, check the focusing and adjust again if necessary.
Remember to move the board very very tiny amounts as the sensor is small and tiny movements will make a huge difference.
Once you have the screws finger tight and the image nice and sharp put the back cover back on.
Tighten the torx screws up finger tight then pinch them off a tiny bit. DO NOT OVER TIGHTEN.
The previous thread locker should hold up just fine.
I have included a few images showing the before and after of doing this and total time to fix was about twenty minutes. It took longer to view the images to check the focus than it did to fix.
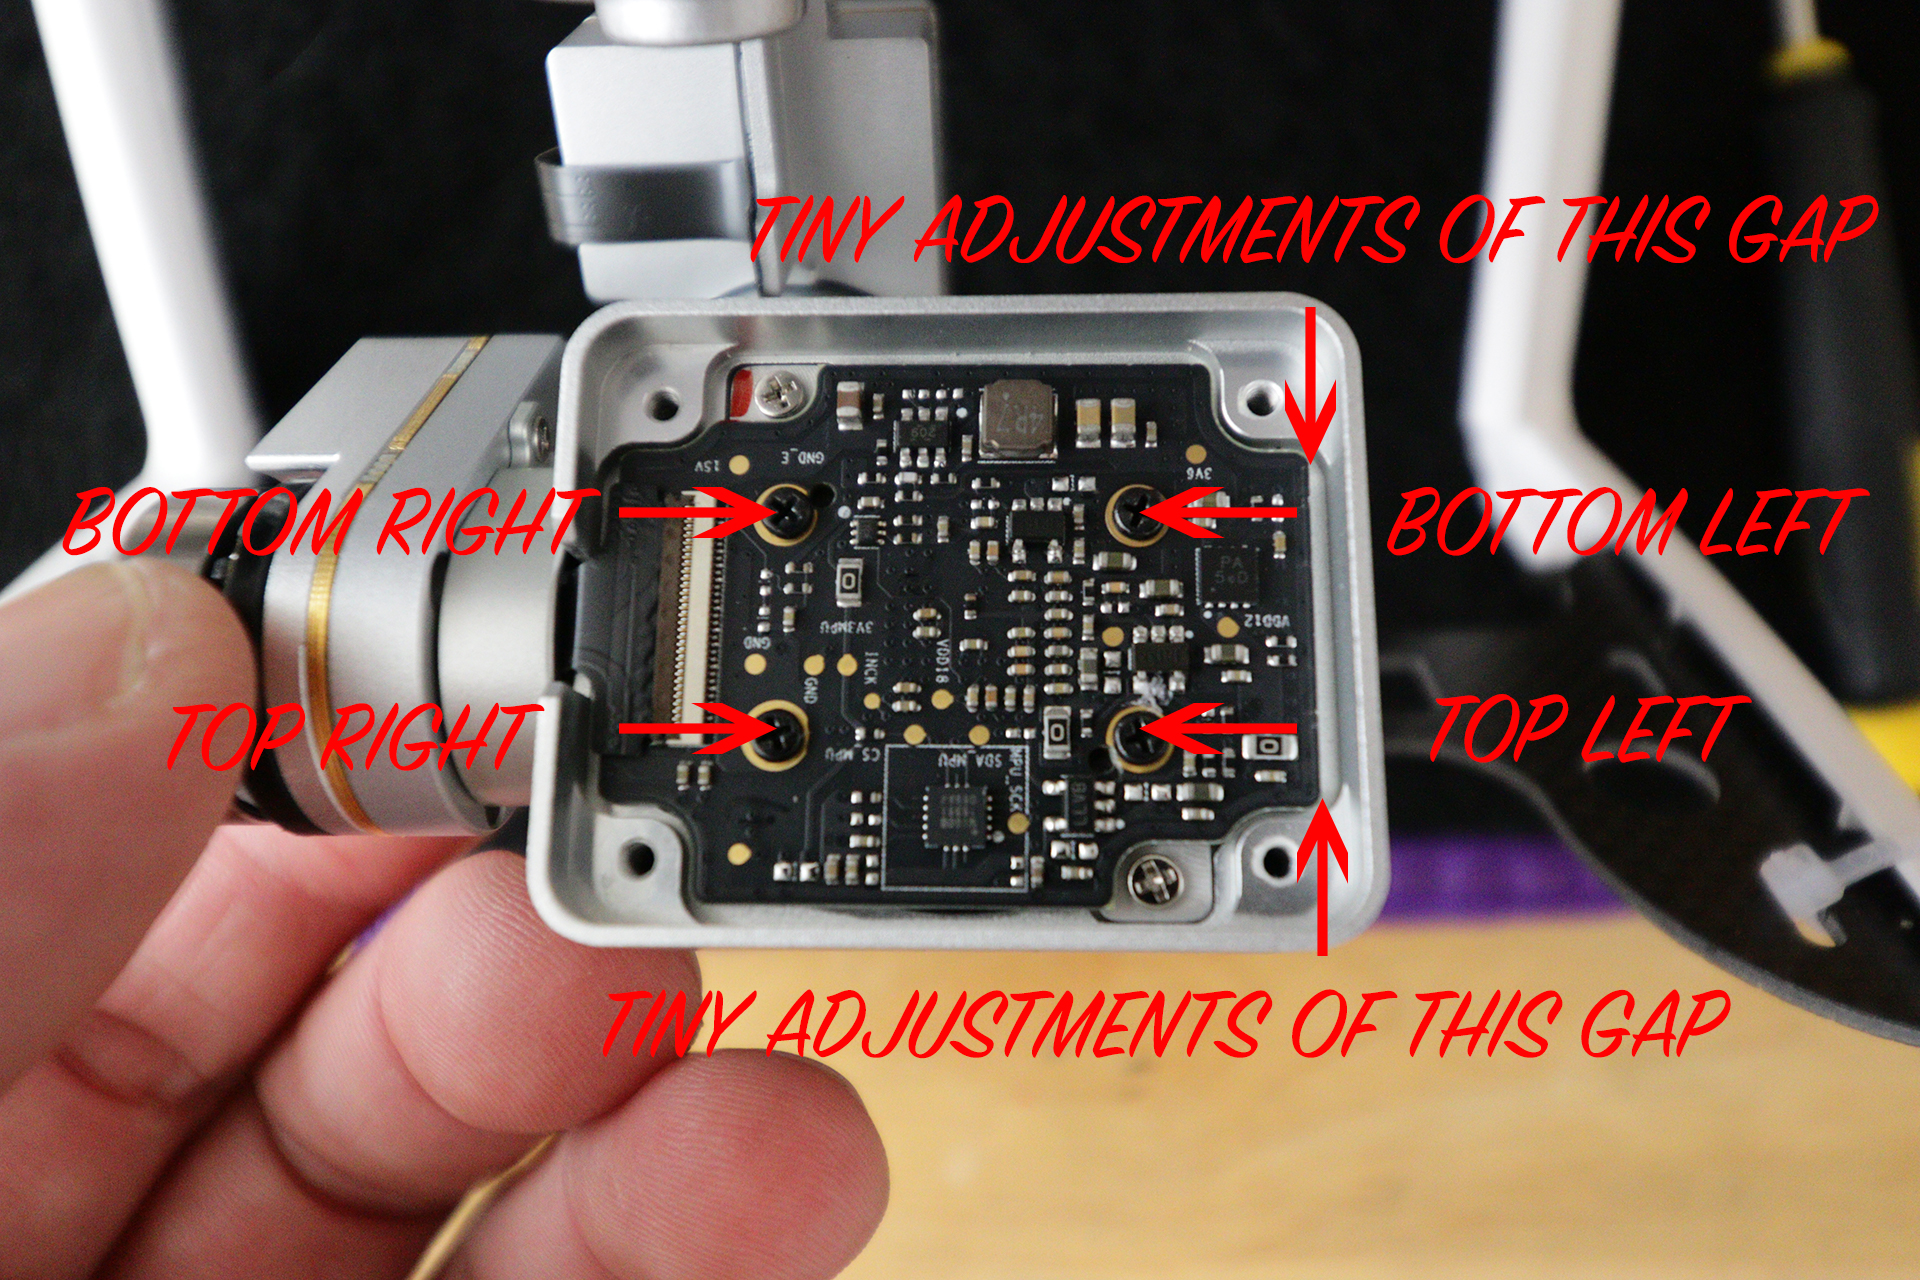
The positions pointed out for the screws are in relation to the sensor.
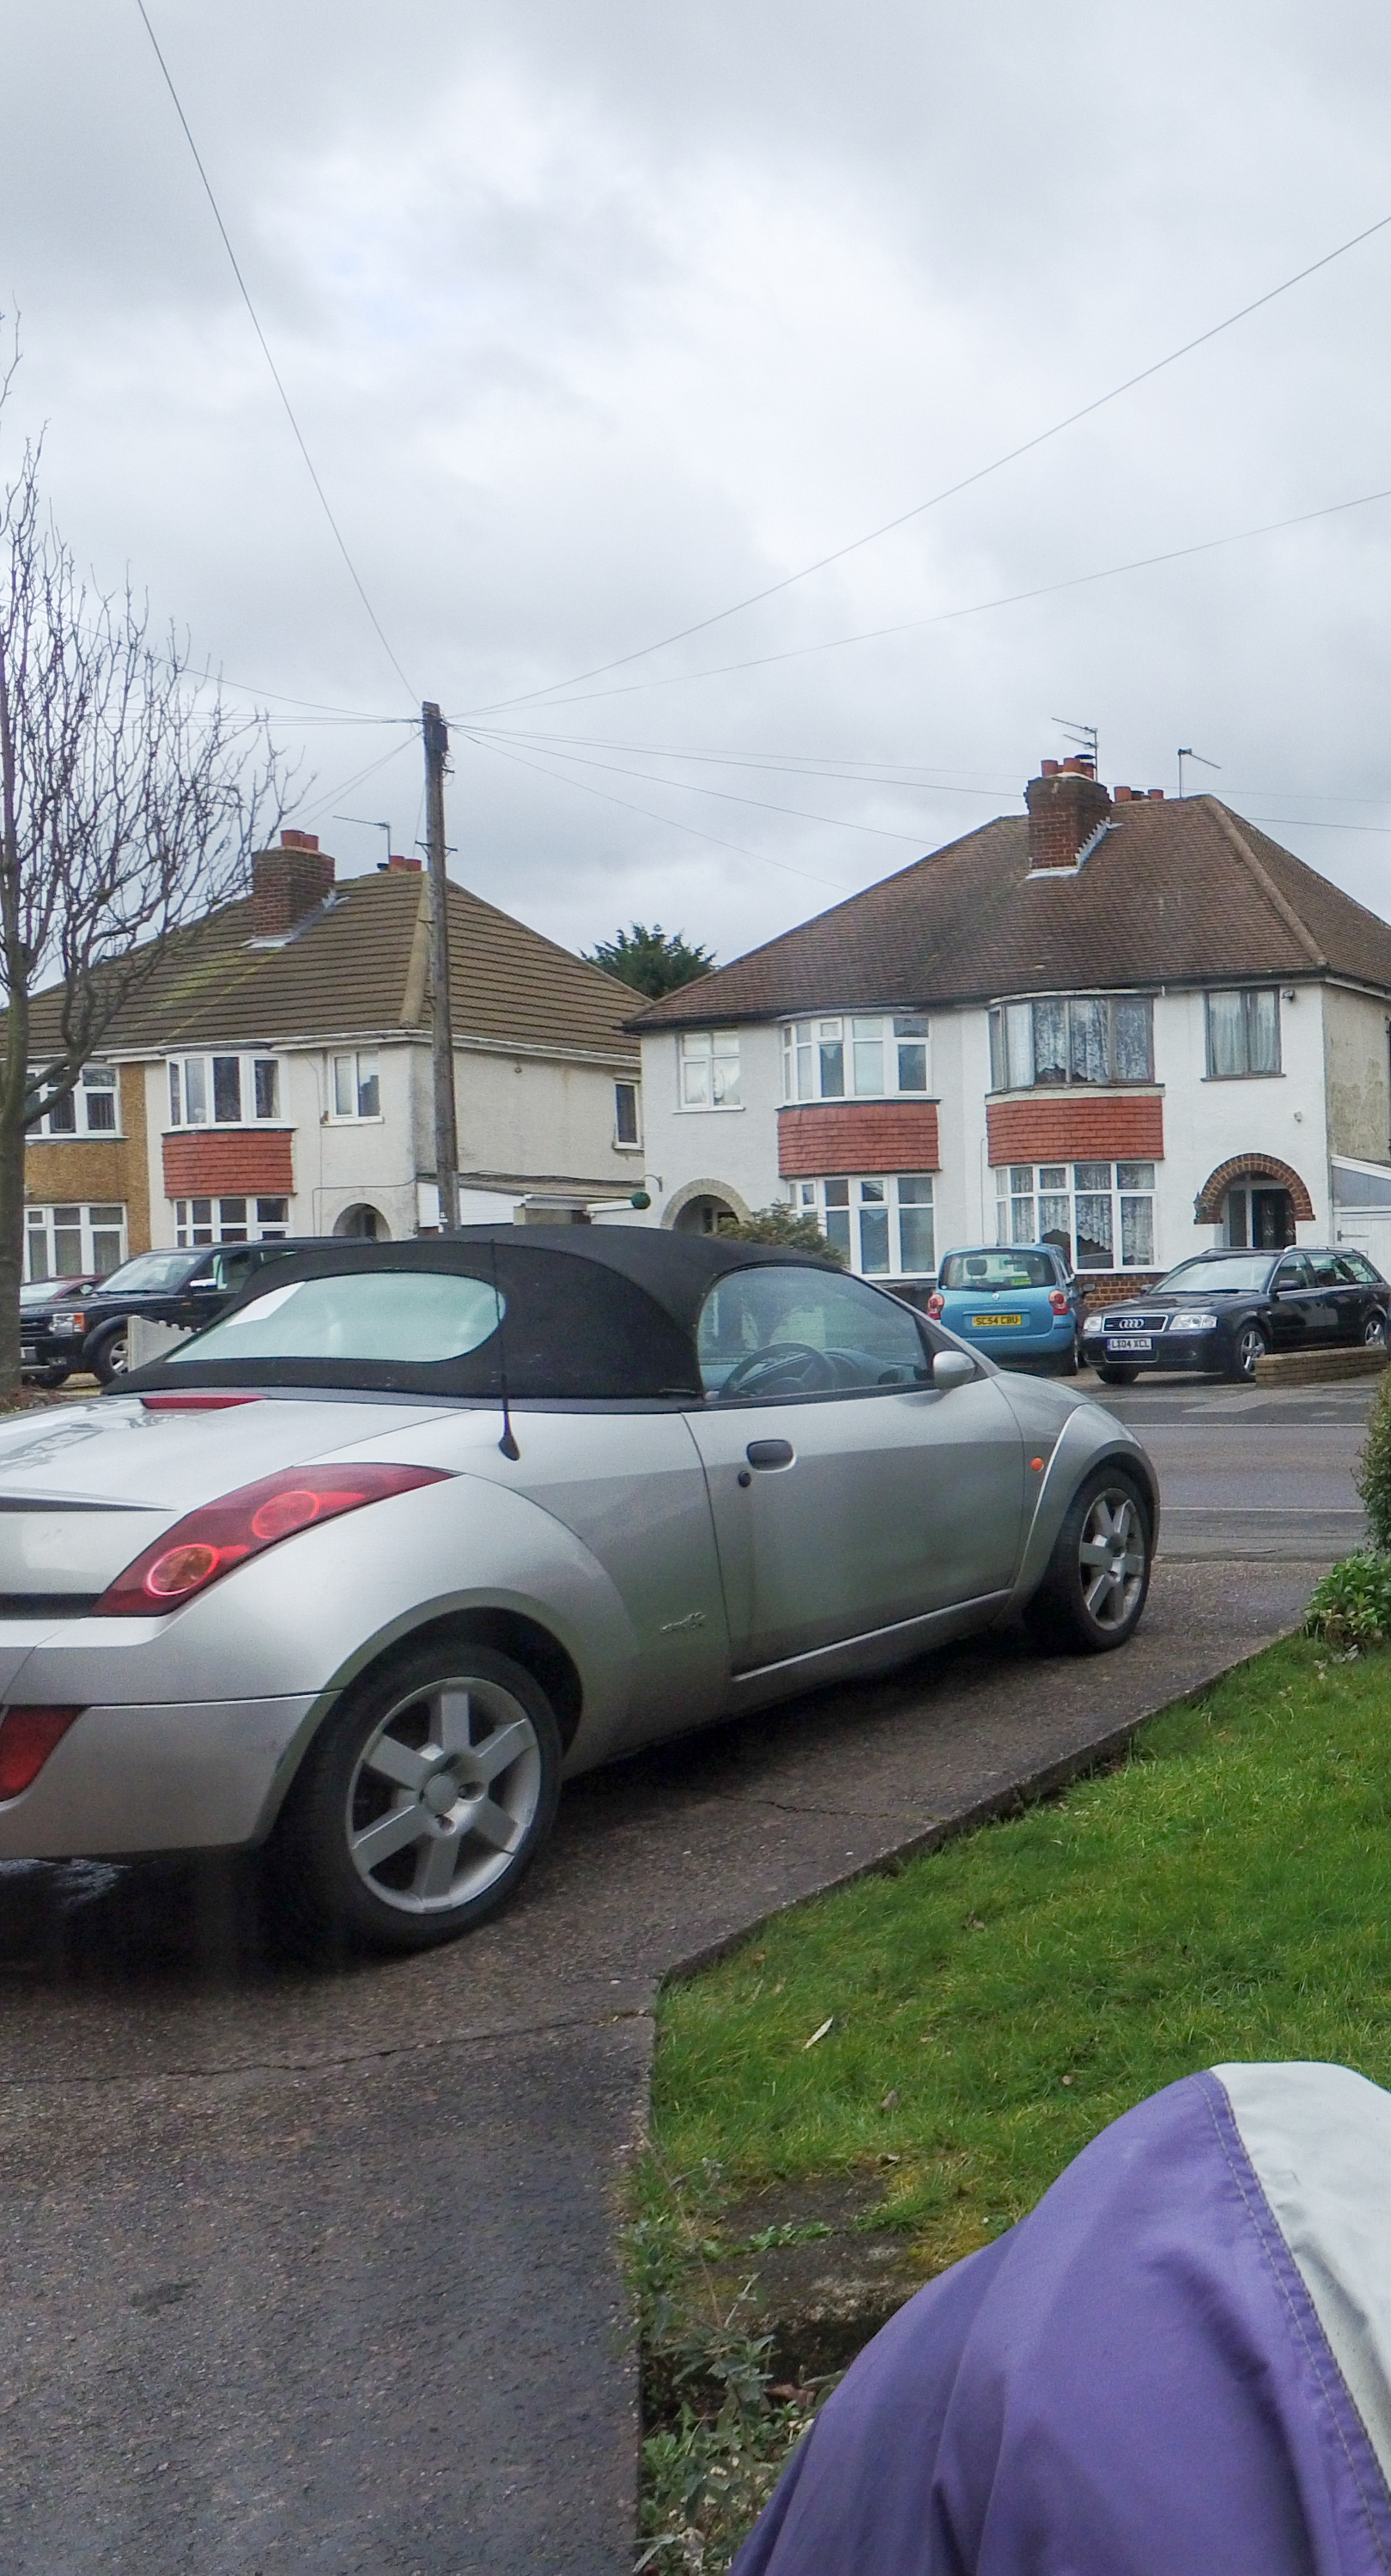
Top left before:
Top left after:
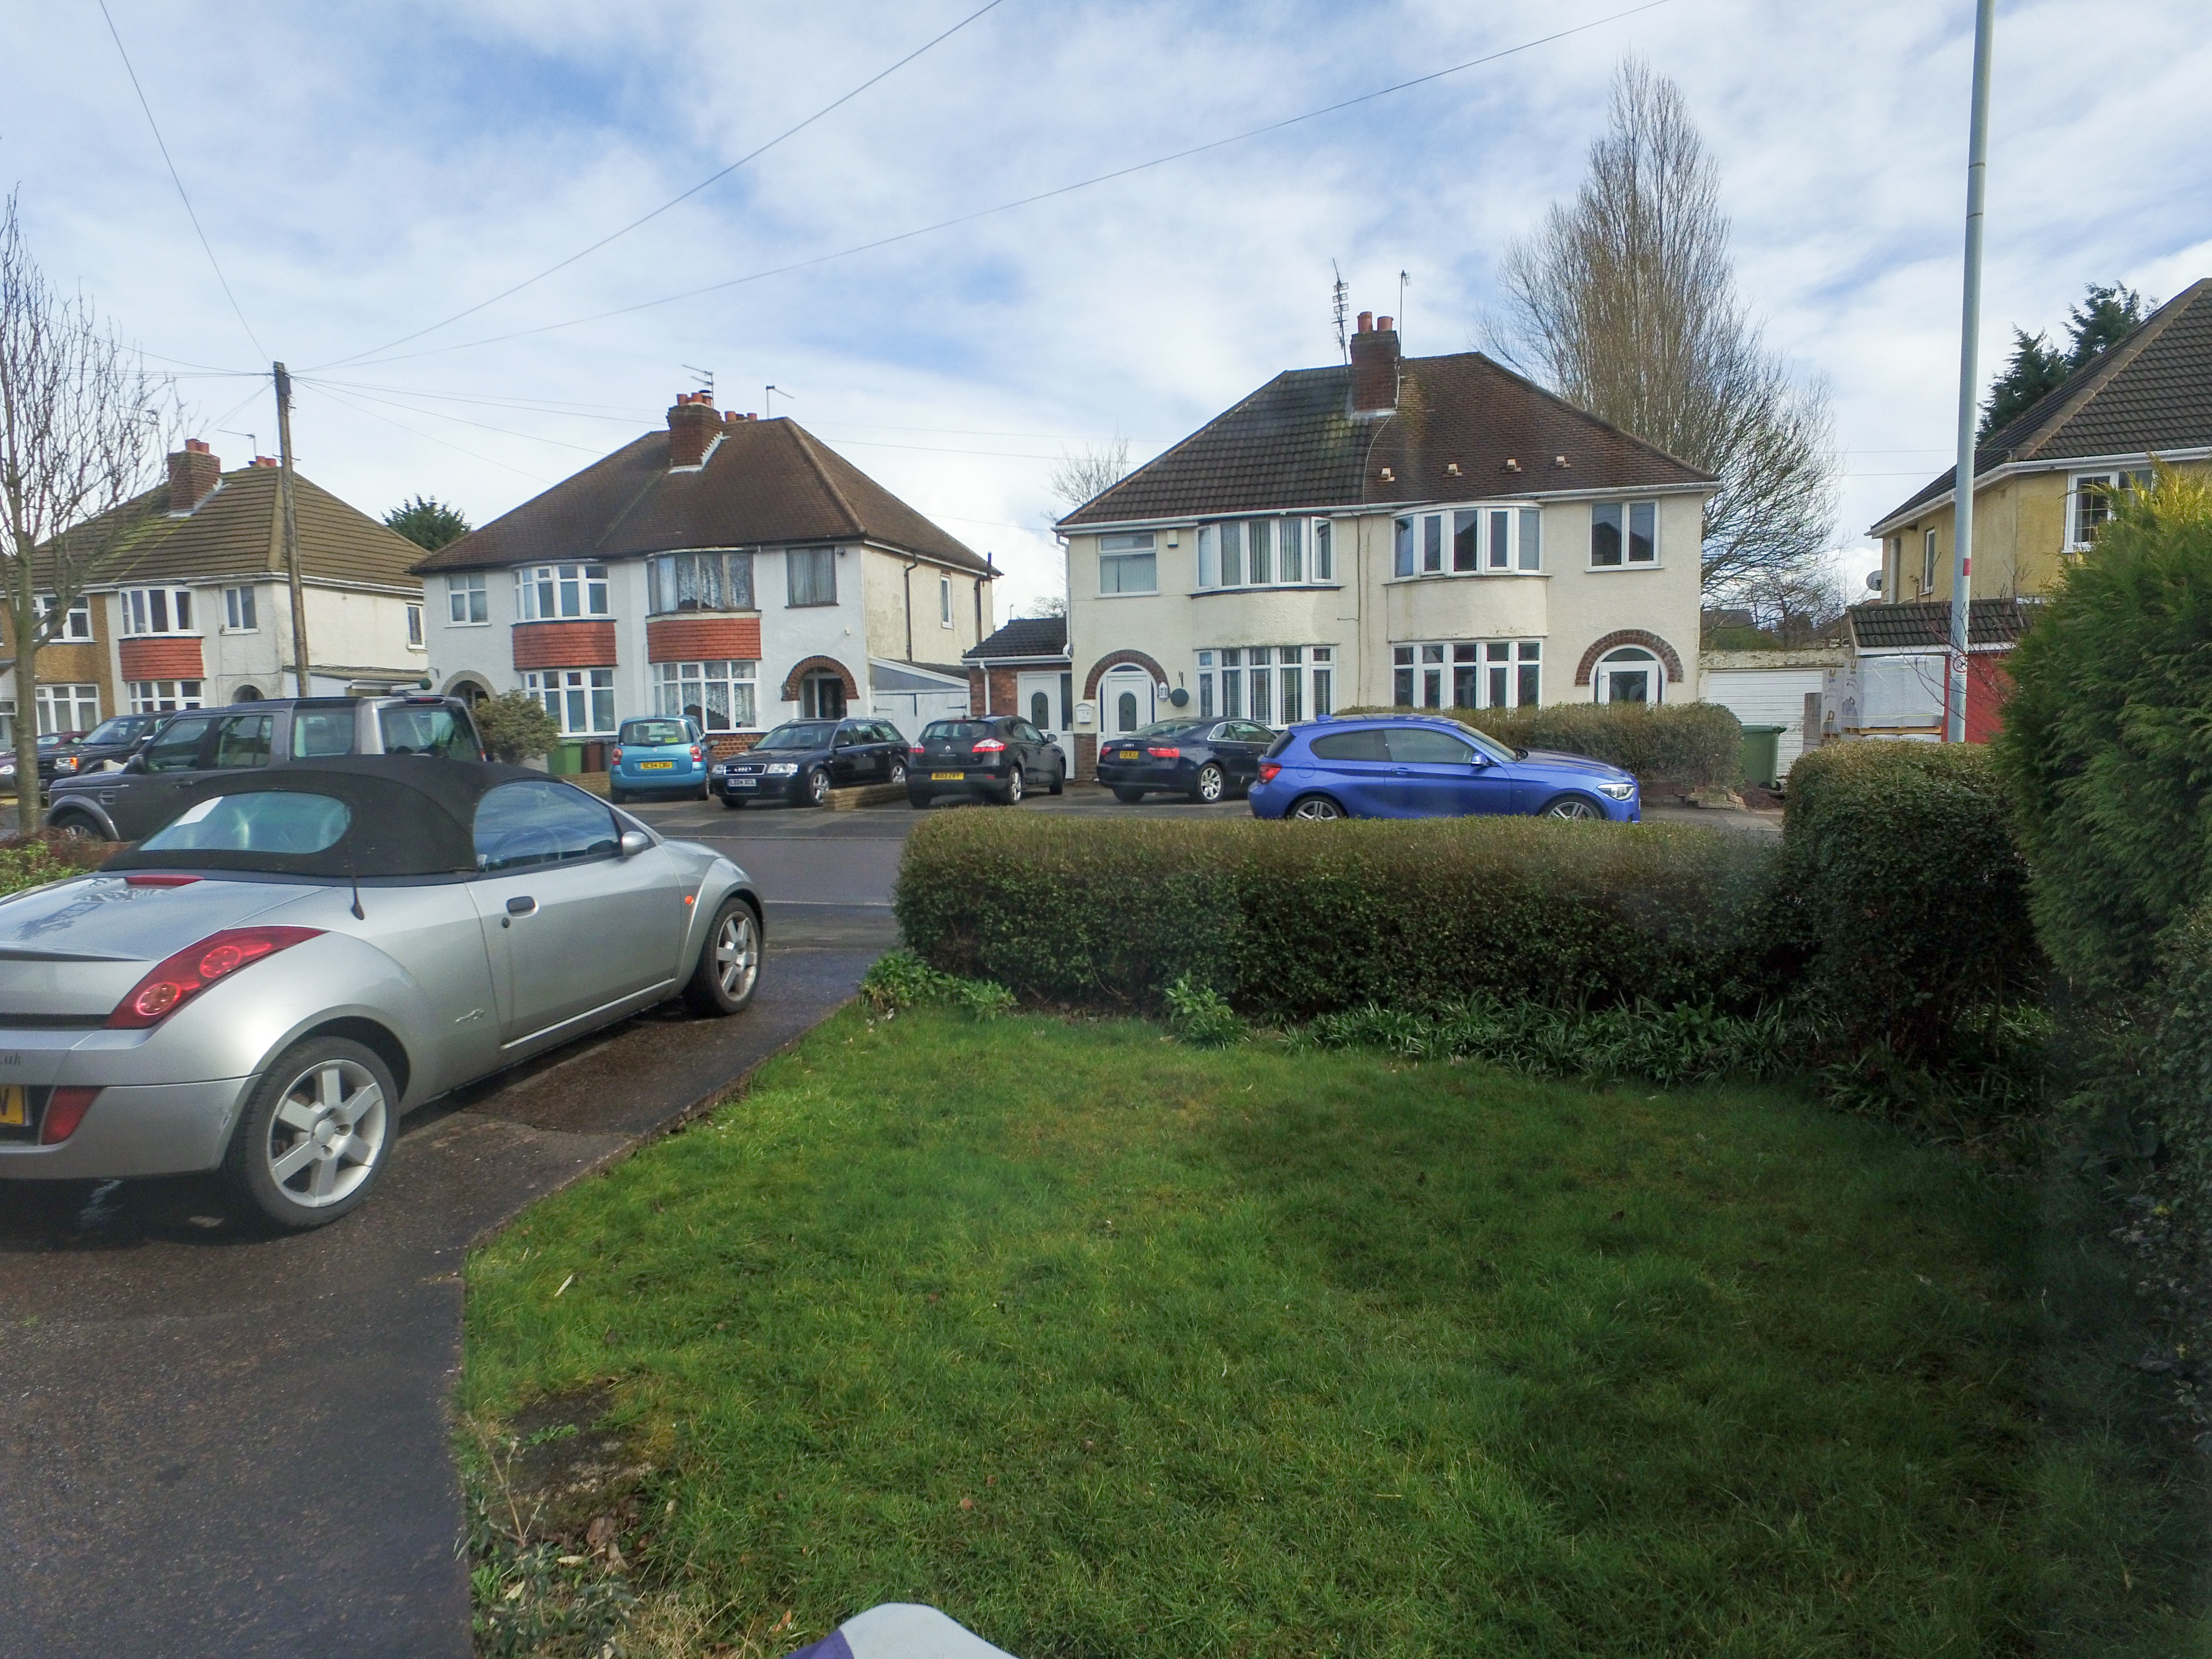
Center left before:
Center left after:
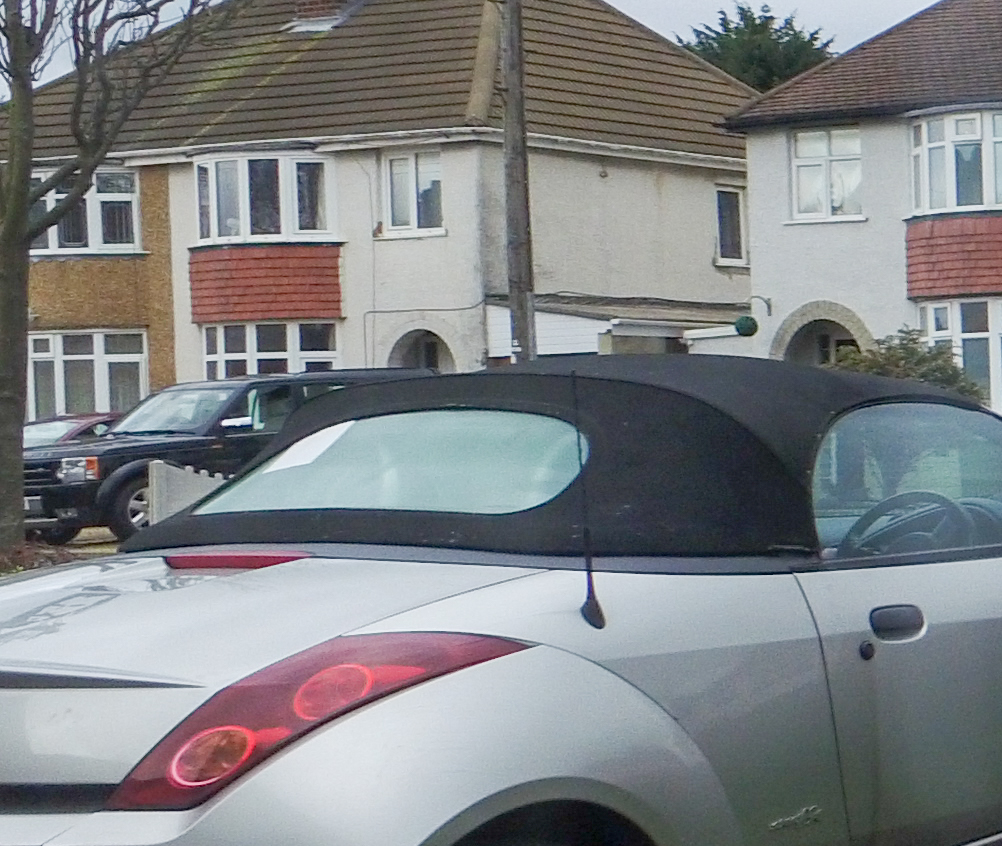
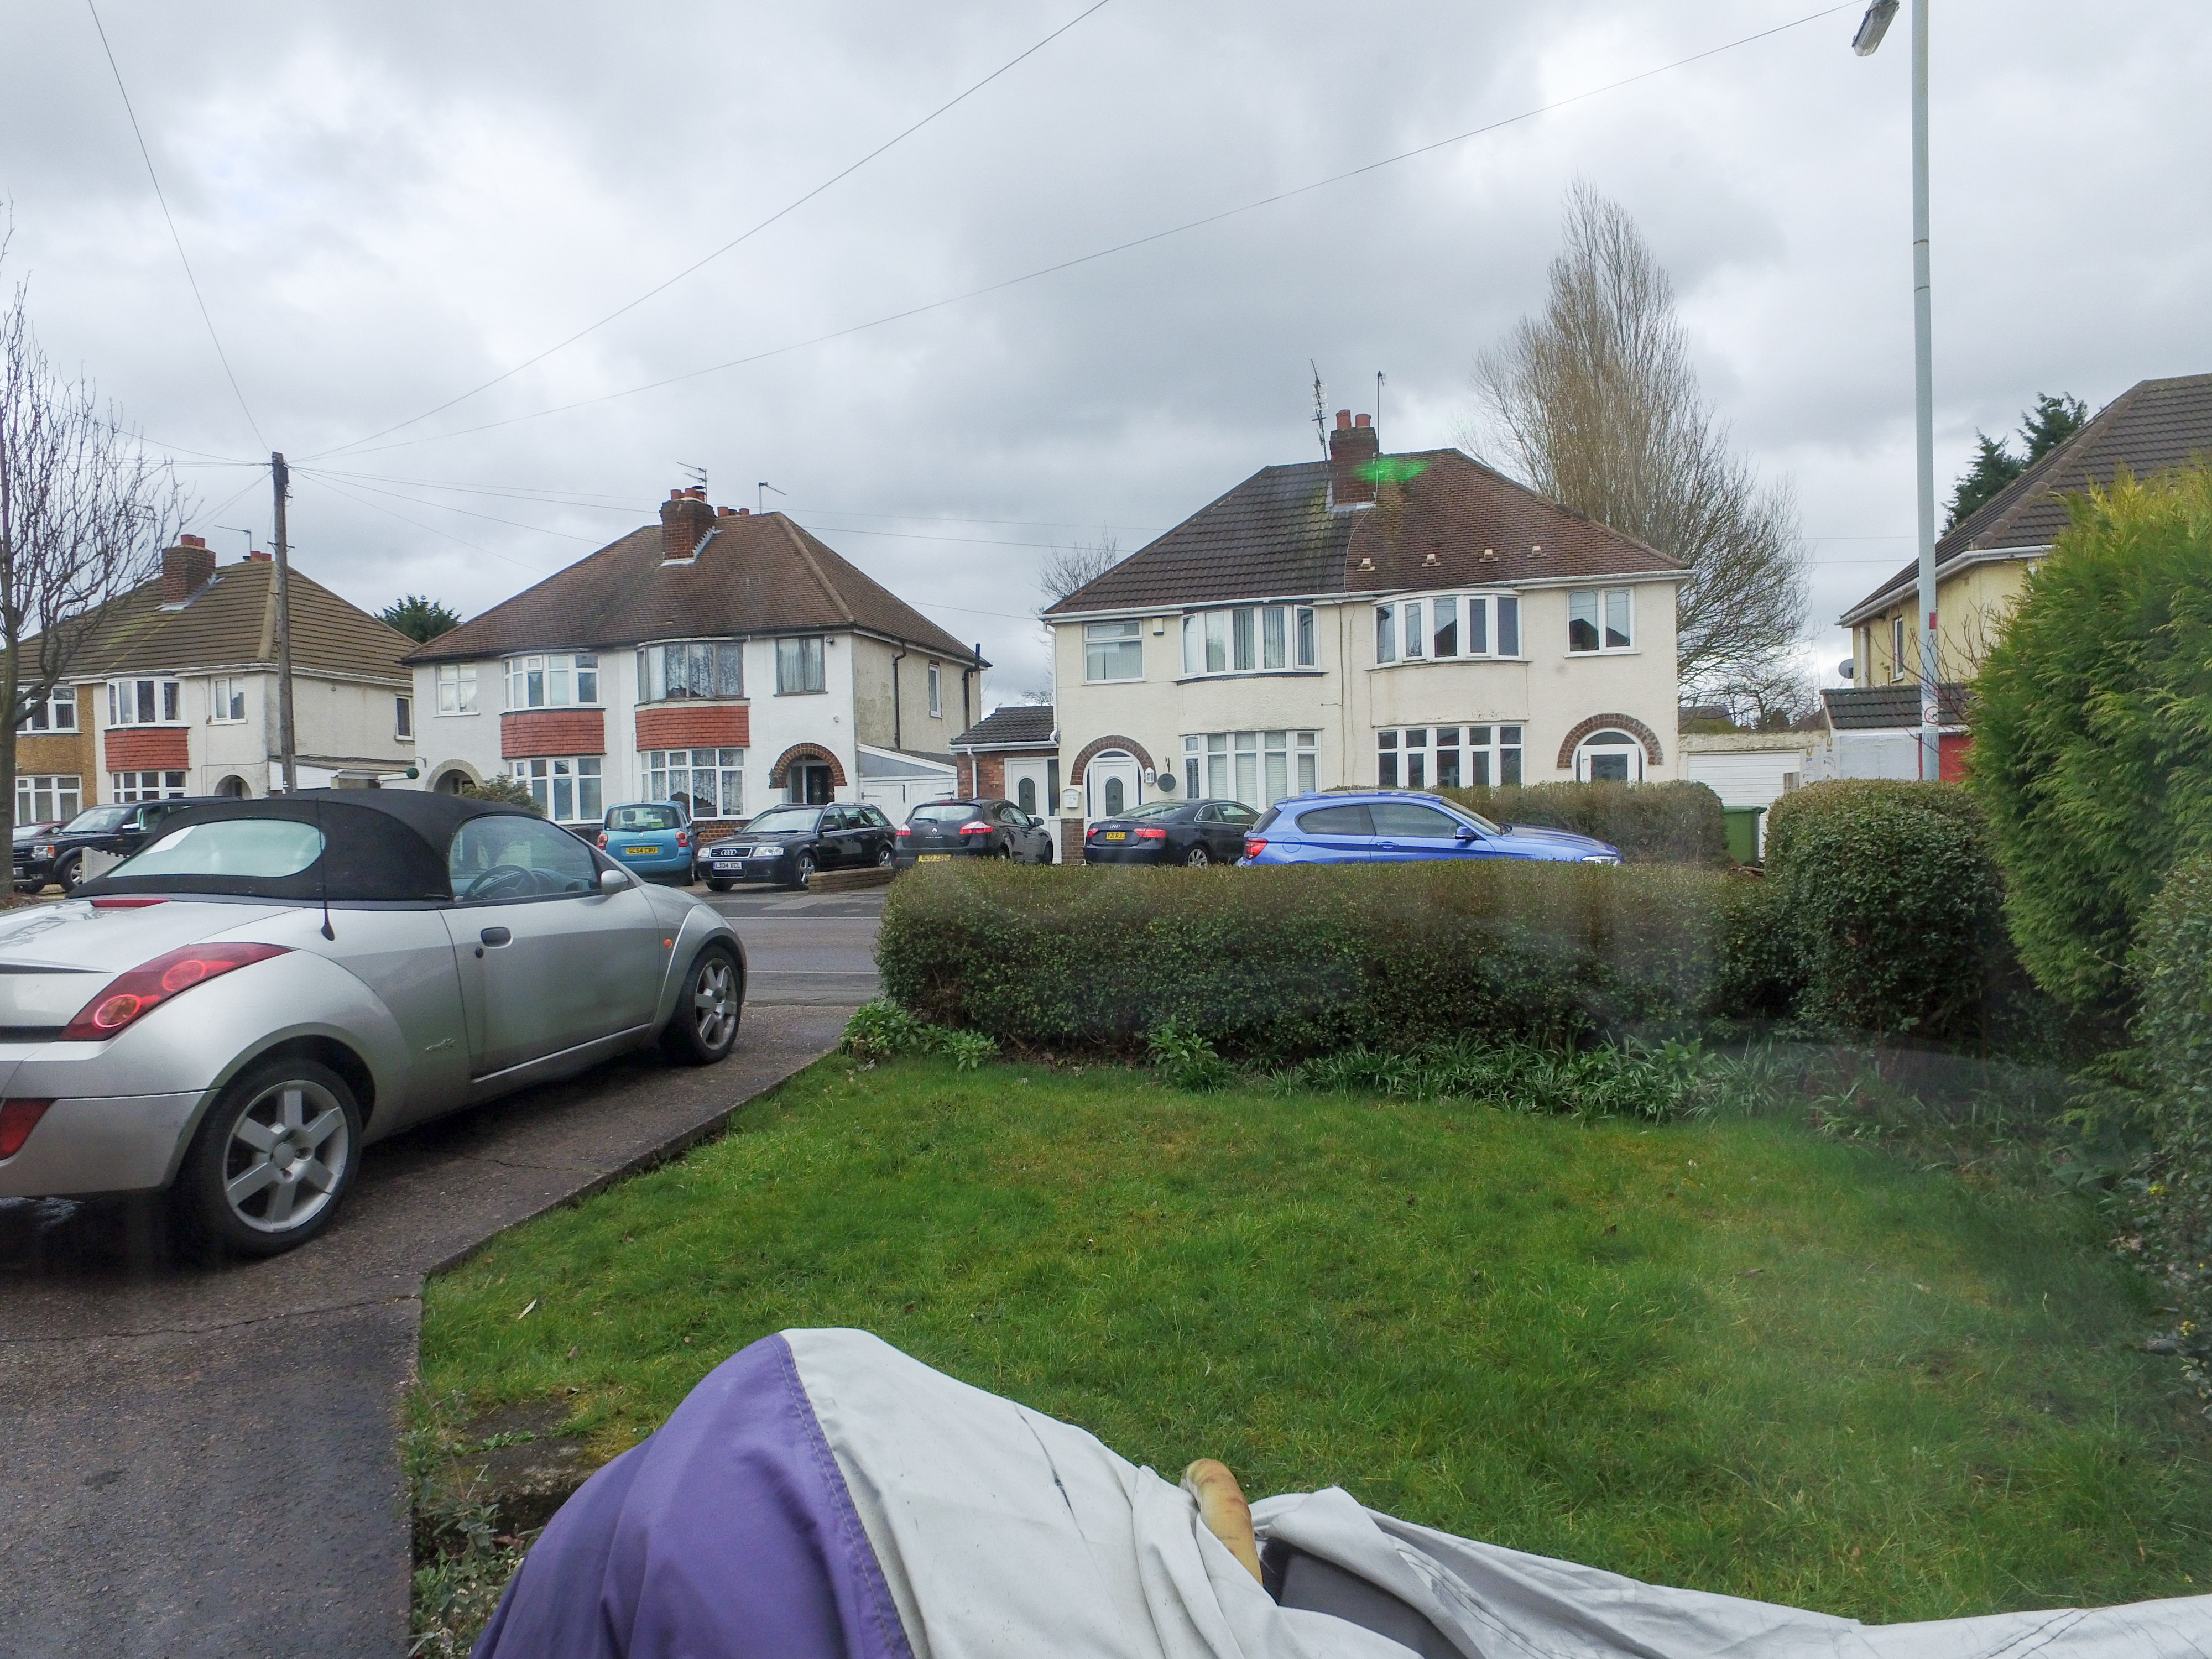
Bottom left before:
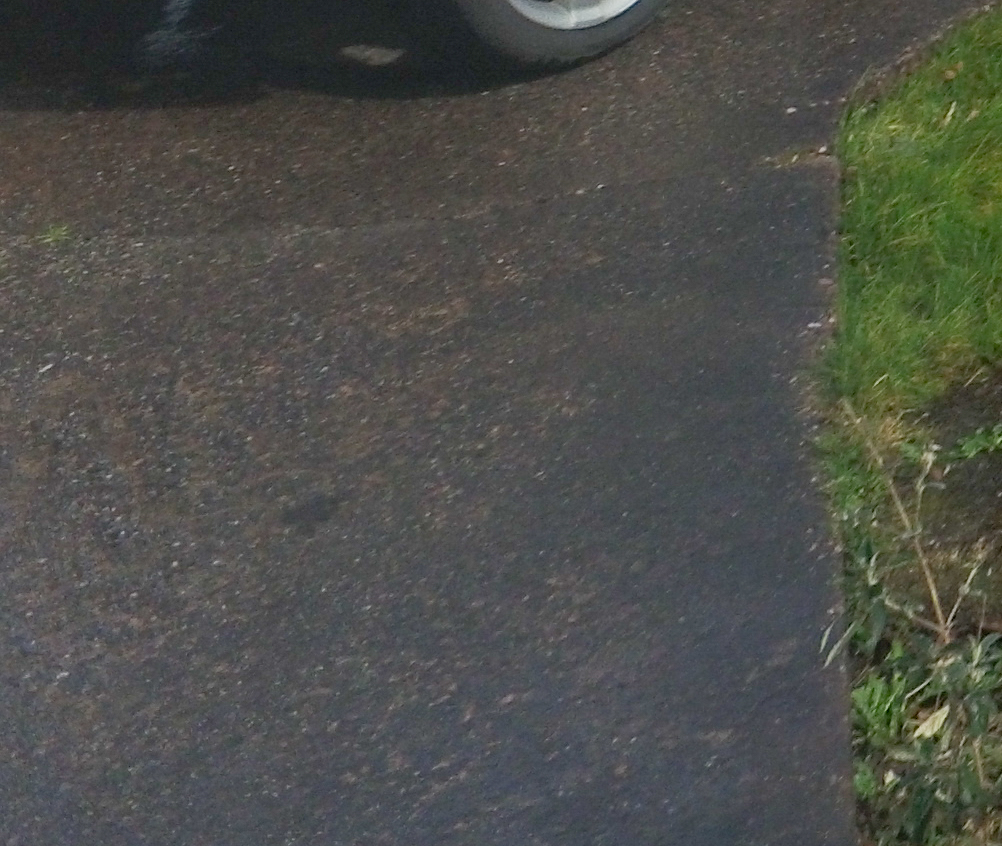
Bottom left after:
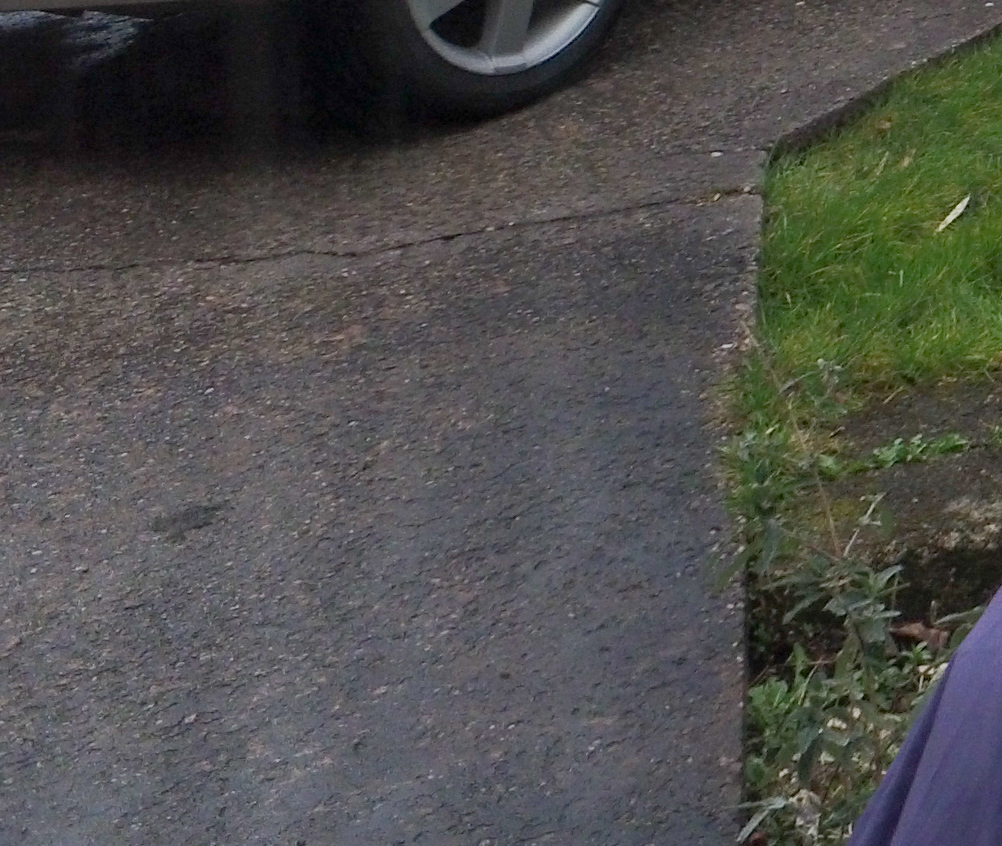
100% left before:
100% left after:
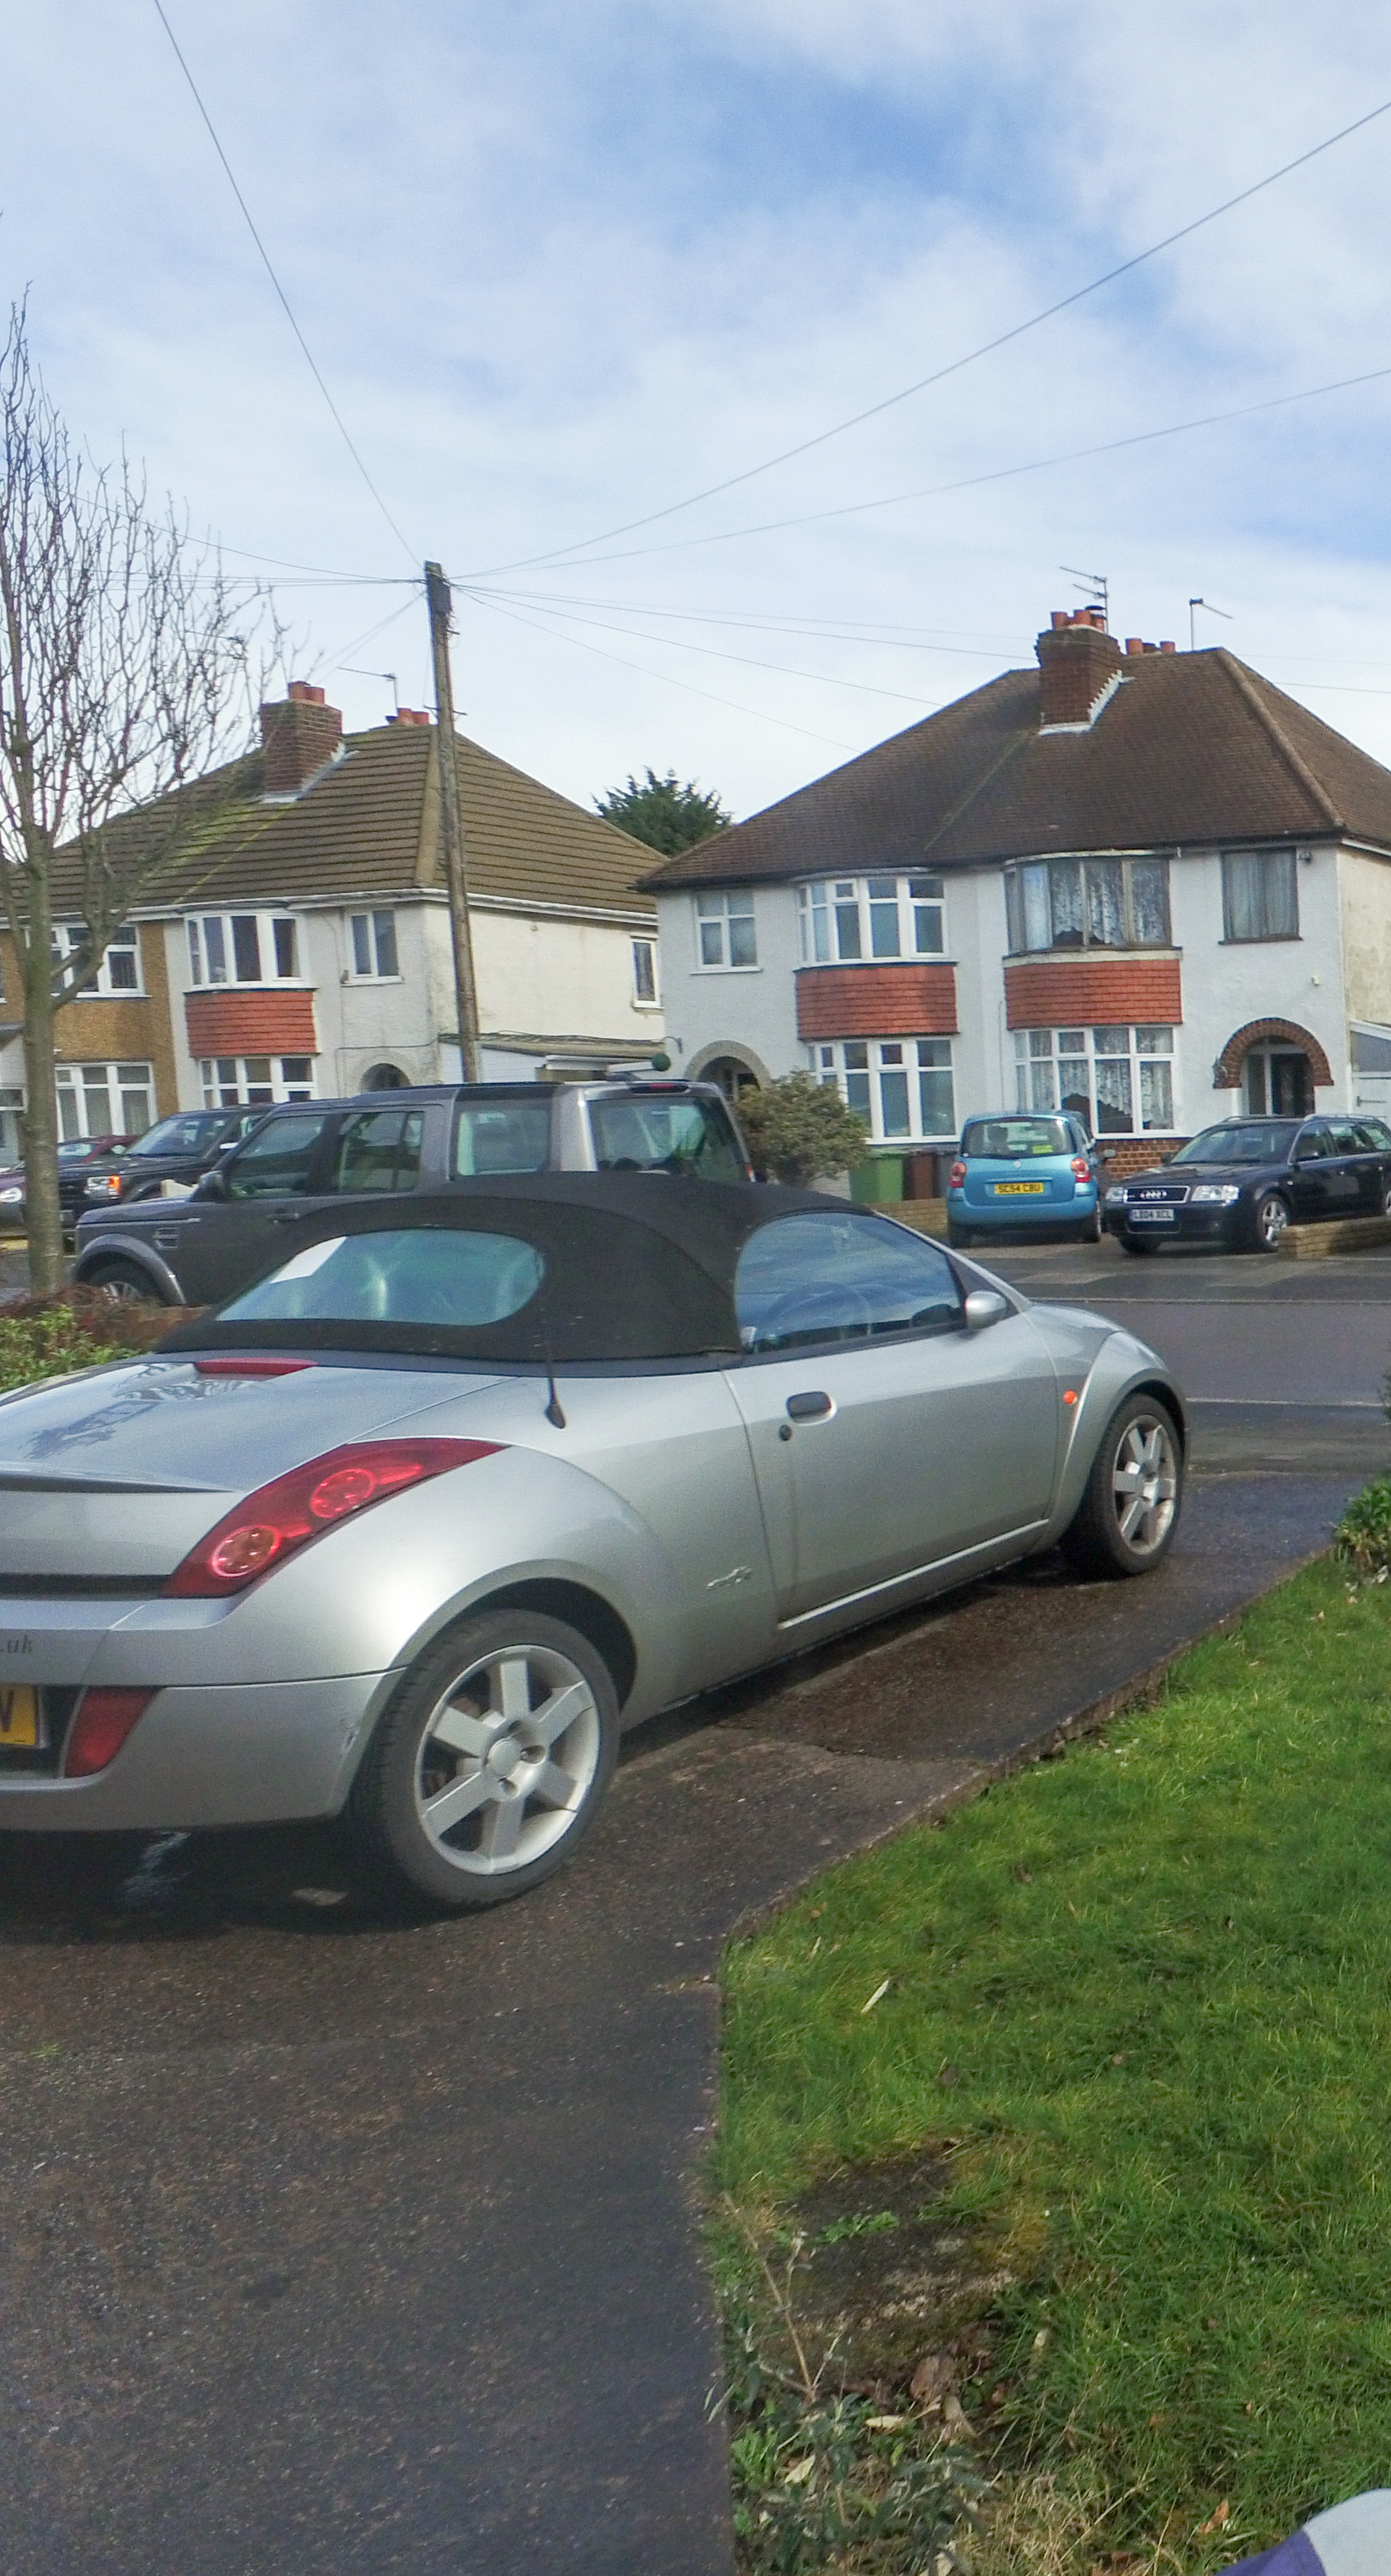
100% Image before:
100% Image after:
A short video test appears a little sharper too but its hardly noticeable, it could be because we pulled the focus back into the center of the image.
Hope this helps you guys out.
Please note, if you still have a valid warranty then send it back, following this will invalidate your warranty. However, If you follow it correctly then there is no way to tell if it has been performed other than getting nice sharp images.
Tools required:
Torx 6 driver
Phillips P000 screwdriver
Small flat head screwdriver
First, determine where your focus issue is, in this case it was effecting the left side but the bottom left being worse. I have seen some people having an issue with the right side. You can fix it all the same. If its heavily out of focus this might not work.
Put the aircraft facing you and tilt it back to rest on the rear rotor arms with the gimbal facing forward.
Rotate the camera so the back is facing you and carefully remove the four torx screws. Try not to gnarl them up with the wrong sized torx bit. They should be a little tight to undo the first time as there is a little thread locker on them.
Once you have them out the back cover will pull off easily, just lift from the side. This exposes the back of the sensor board.
Here there are four screws as shown below.
To do this, slightly undo the four screws holding the board down and using the flat head in the gap in between the board and the casing turn gently to adjust the position of the board slightly.
As our focus issue is on the left side of the sensor we need to move the sensor a tiny bit in relation to the direction of sharp focus. In the images, the sharper areas are more center and right side of the image. Suggesting the sensor needs to be moved slightly to the right and up a fraction to bring the center of the circle of focus into the middle of the sensor.
Gently tighten the screws back down. DO NOT OVER TIGHTEN. Just pinch them back up to stop the board moving again.
Now take some pictures, check the focusing and adjust again if necessary.
Remember to move the board very very tiny amounts as the sensor is small and tiny movements will make a huge difference.
Once you have the screws finger tight and the image nice and sharp put the back cover back on.
Tighten the torx screws up finger tight then pinch them off a tiny bit. DO NOT OVER TIGHTEN.
The previous thread locker should hold up just fine.
I have included a few images showing the before and after of doing this and total time to fix was about twenty minutes. It took longer to view the images to check the focus than it did to fix.
The positions pointed out for the screws are in relation to the sensor.
Top left before:
Top left after:
Center left before:
Center left after:
Bottom left before:
Bottom left after:
100% left before:
100% left after:
100% Image before:
100% Image after:
Hope this helps you guys out.

")


